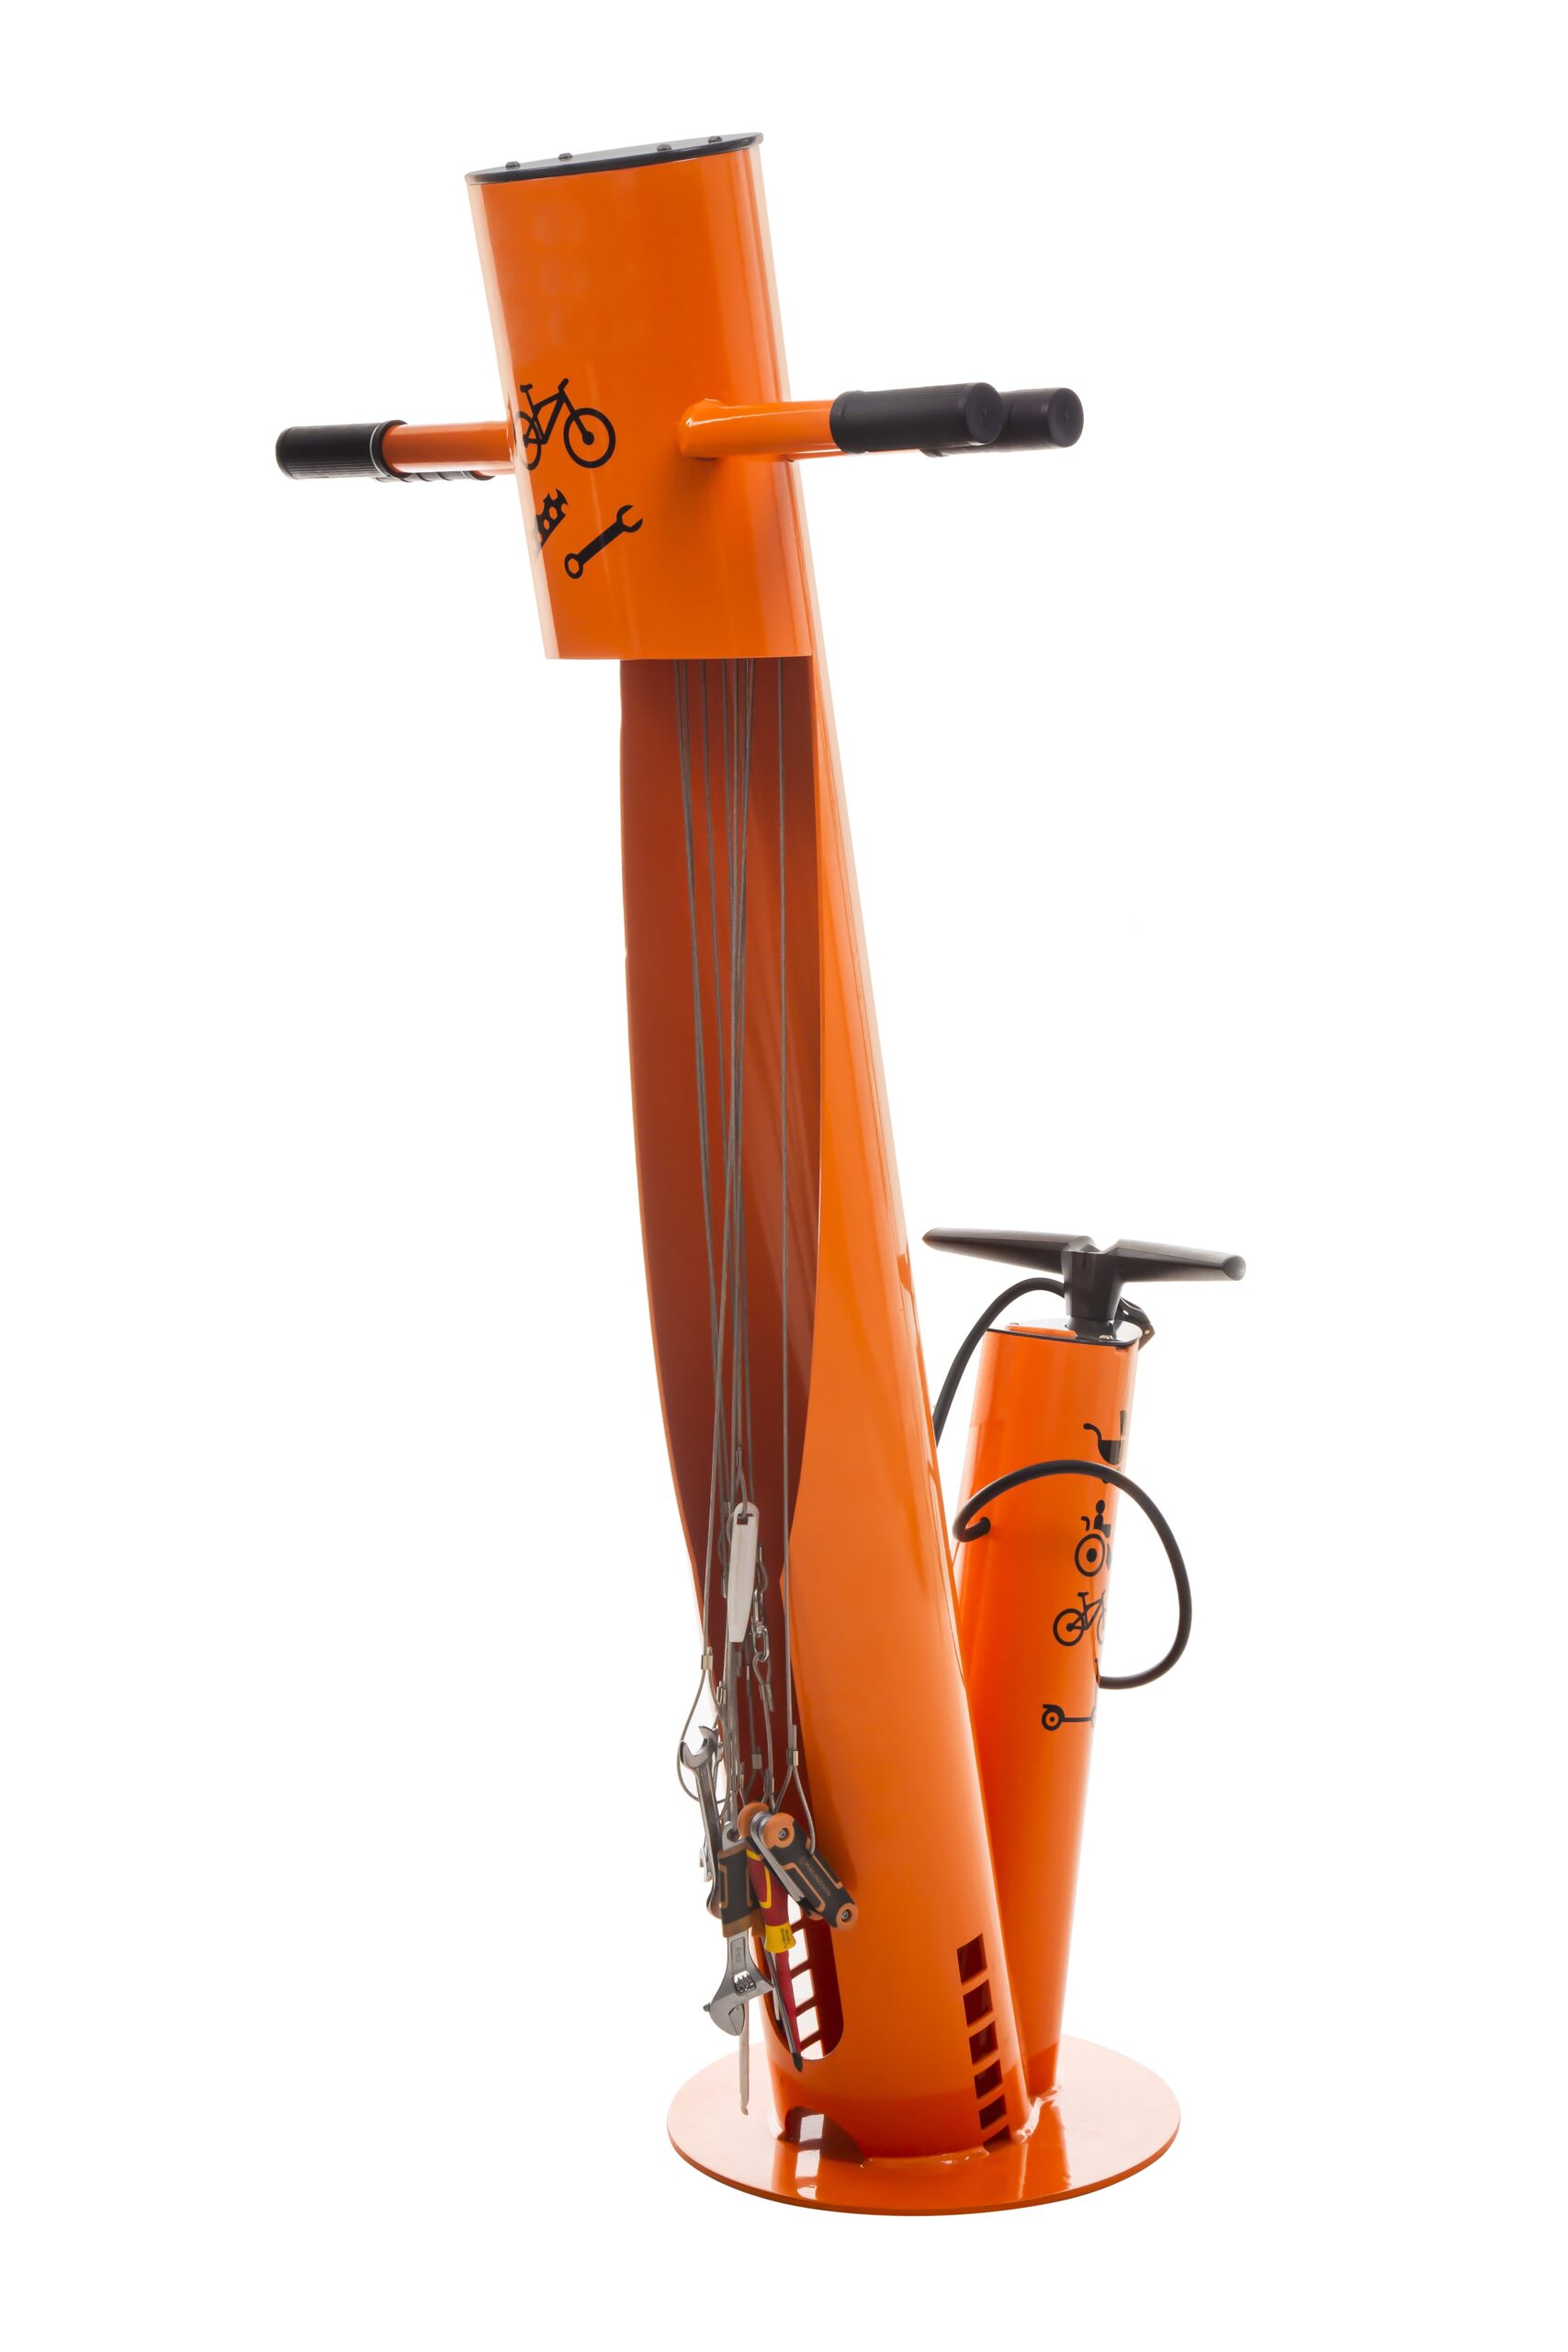
fbpx

Inten OÜ

SWEDBANK AS
IBAN: EE902200221061048194
SWIFT/BIC: HABAEE2X

park4bike

Fastening of Parts + -

All screws should be inspected periodically to ensure that they are sufficiently tight, but not so tight that damage is caused to the threads. It is important to check every element and fasten as required to avoid damage caused by faulty equipment.

Inflating the Tyres + -

  • Position the wheel so as to gain convenient access to the valve and remove the plastic cap.
    • Fit the correct pump air adapter to your bike’s Presta or Schraeder valve. Push the lever on the adapter down to secure and close it.
    • Test the pressure range (BAR/PSI) suitable for your bike. You will find this information on the side of the bike’s tyres. Usually it is 3 BAR.
    • Inflate the tyre. Ensure you are monitoring the pressure gauge whilst doing so.
    • Remove the pump’s adapter and hook it back to the pump station.
    • Fasten the plastic cap or metal nut on the valve.

Inner Tube Replacement + -

  • Turn the bike upside down so it is resting on its handles and saddle. Change the derailleur to the smallest sprocket to make the job easier.
    • Release the brake. Grip it with your hands at first then free the cord (this doesn’t apply in case of disc brakes).
    • Open the wheel clamp or loosen the nut on the axle, then remove the wheel.
    • Push the tyre levers against the rim then pry the tyre, dragging one lever around the rim to separate it.
    • Remove the inner tube.
    • You can either fix the inner tube by using the tyre patches, but it is safer to replace the inner tube.
    • Inflate the inner tube gradually, but not fully, and place it inside of the tyre starting from putting the valve into the rim.
    • Put the tyre bead back on the rim using the lever. Fully inflate the inner tube and the tyre.
    • Fit the wheel back onto the bike frame and attach the brake.

V-Brake Adjustment + -

  • Slowly unfasten the screw keeping the cord on the brake arm.
    • Loosen the brake block’s cap while pressing down the brake arm against the disc.
    • Check the position of the brake blocks. If they are set at the correct distance from the brake arms, press down both brake blocks against the disc and measure the distance between the end of a cord hook and the other brake arm. It should not be less than 39mm. Ensuring they are at the correct distance prevents friction between the brake arms when braking.
    • Now press both brake blocks to the disc while checking the positioning of the brake block. It must me straight and do not cause any friction.
    • Put the cord back into the mounting screw. Set the cord. The brake blocks must be 1 to 1.5mm away from the disc. Fasten the cord using the appropriate screw. Fasten the barrel screws on brake handles.

Front Derailleur Adjustment + -

  • Place the bike chain on the back of the largest sprocket and on the front of the smallest sprocket. The derailleur guide should be parallel to the bike chain. If it isn’t, loosen the clamping screw.
    • Find two adjustment screws on the derailleur marked as L (low) and H (high). Fasten the L screw. You should stop fastening when the distance from the inner derailleur guide equals 1mm.
    • Place the bike chain on the smallest sprockets on both front and rear ends.
    • Turn the adjustment screw marked H (high) to the position of a 1mm distance to the bicycle chain.
    • Finally, set the cord tension using the regulator in the handle. Make sure that the gears can shift smooth.

Rear Derailleur Adjustment + -

  • Change the gear ratio to the largest sprocket at the front and the smallest sprocket at the rear, then loosen the clamping screw.
    • Turn the adjustment screw marked H (high) so that the derailleur wheels are level with the smallest sprocket in the cassette.
    • Set the derailleur in the closest position to the wheel, secondly check the position of the derailleur wheels – they should be level with the largest sprocket in the cassette. If they aren’t then adjust their position using the L (low) screw.
    • Slacken the cord now and fasten the clamping cap.
    • Finally, check whether the gears are shifting smoothly. The bike chain shouldn’t experience any difficulties while moving to the higher sprocket. If it does, then you have to tighten the cord by using adjusters on both ends of the outer casing – on the derailleur side and on the shifter.
HELISTA MEILE